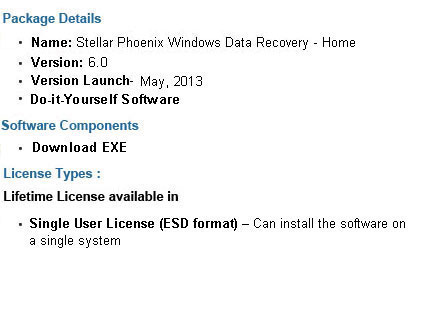
Stellar Phoenix Windows Data Recovery - Home « Back to list


 Free Download
 Buy Now
Stellar Phoenix Windows Data Recovery - Home « Back to list
Now Finding Lost Data is Just a Few Clicks Away
Fend off data loss with this immaculate Windows data recovery solution. The software comes as a rescuer in times when your precious photos, music, videos, documents, and other files get deleted accidentally or in a frenzy to free up storage.
- Recovers photos, videos, and other multimedia files
- Supports efficient scanning of storage space greater than 2TB
- Searches lost or deleted volumes on Windows hard drive
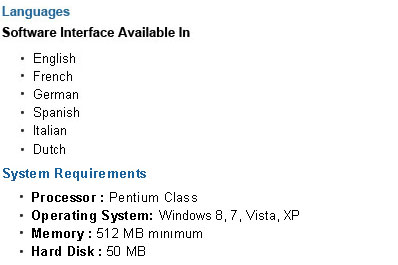
- Supports recovery from Windows 10/8.1/ 8/ Windows 7/ Vista / XP
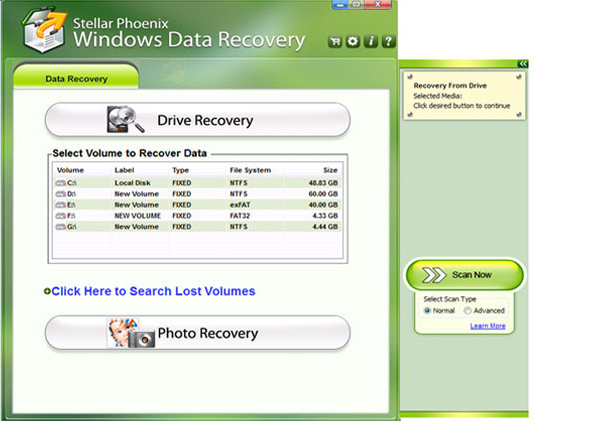
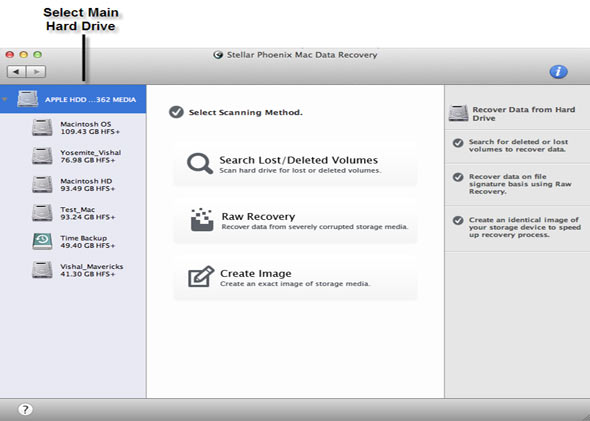
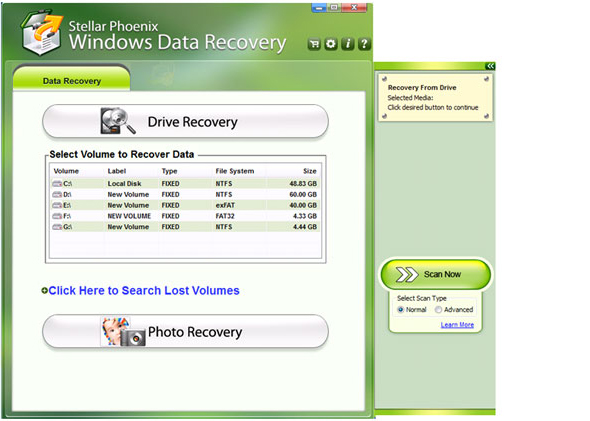
Home Screen
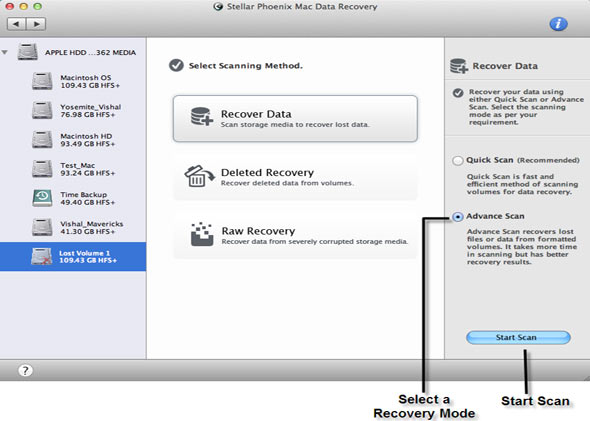
Click 'Drive Recovery' to display all volumes in your system. Select one of the displayed volumes under 'Drive Recovery'. On the flying pane to the right, select a scan type ('Normal' or 'Advanced') and click 'Scan Now' to begin scanning.
Scanning Process
The progress bar in the top-right pane shows the scan status. During scan, the software prepares a tree-structured list of recoverable files in the left pane.
After Scan
After finishing the scan, you see three tabs in the left pane that display all the recoverable files and folders in the selected volume.
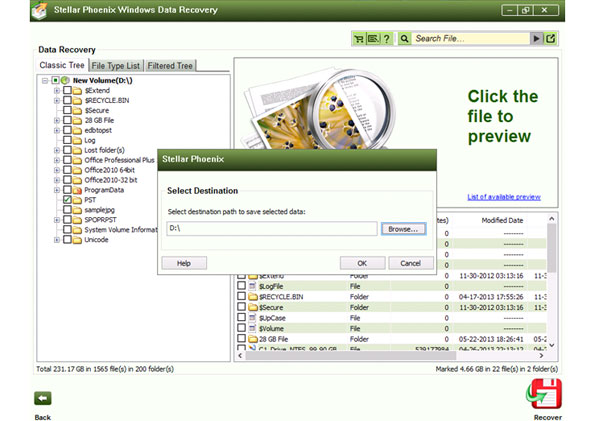
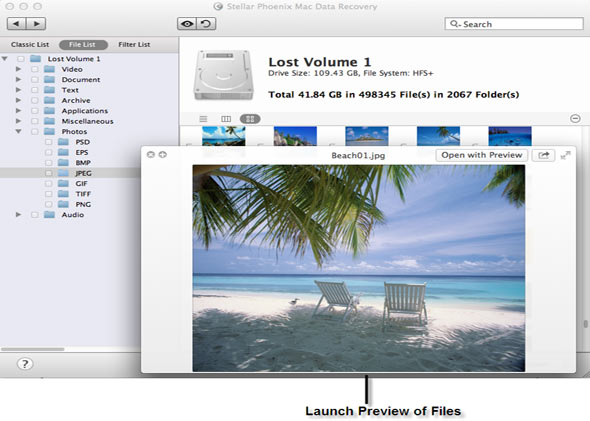
Preview
Select a folder in the left pane to list all files in this folder in the bottom-right pane. Click a file to display its preview in the main interface.
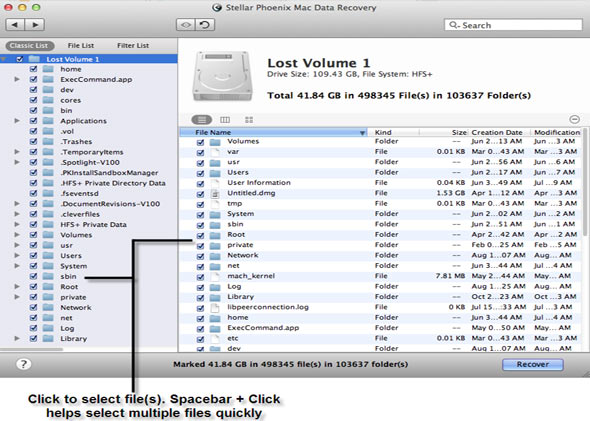
Select Destination
Select the desired files and folders for recovery and click 'Recover' button at the bottom. This opens up the Select Destination dialog. In this dialog, browse for a desired location to save the recovered data. Click 'OK'.
Saving Data
The software begins saving the selected files to your destination. You can observe the status of this task by viewing the two progress bars shown in the top-right pane.
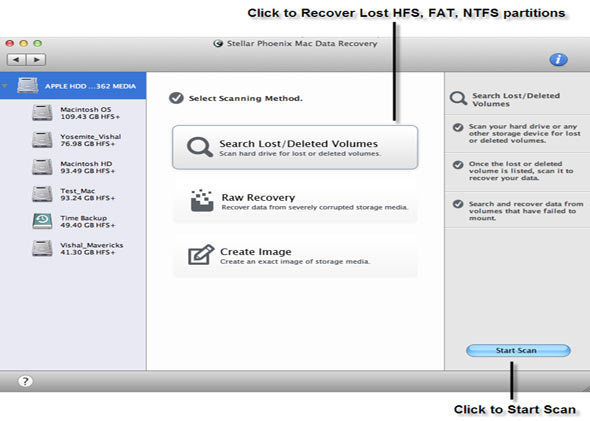
Home Screen
On the home screen, click to expand 'Click Here to Search Lost Volumes'.
Select Physical Drive for Scan
Select a physical drive to be scanned in 'Select Hard Drive to Search Lost Volumes' section. On the flying pane, select a scan type ('Quick' or 'Deep') and click 'Search Lost Volume' to start scanning.
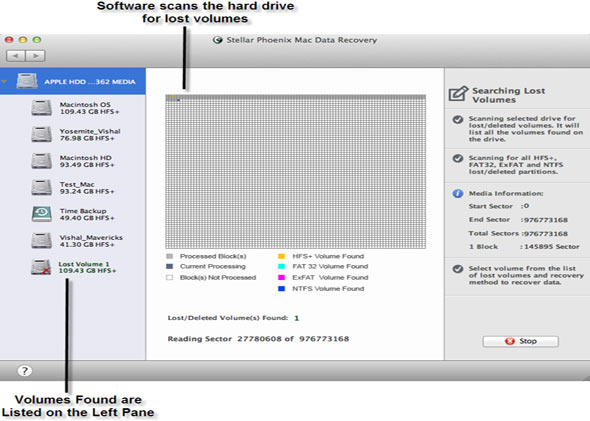
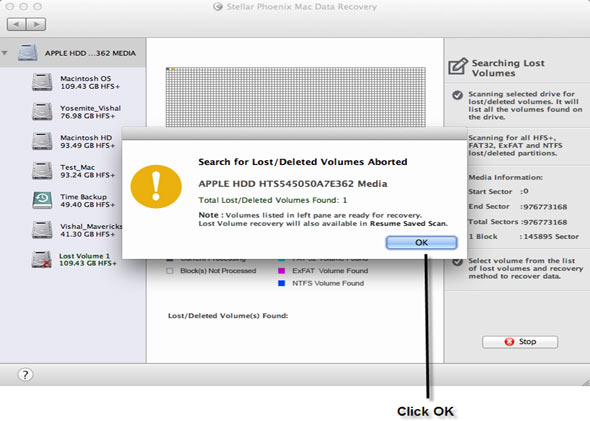
Recover Data from Lost Volume
The software lists all found volumes on the selected drive below 'Drive Recovery'. Select the desired volume and recover data using any of the 'Drive Recovery' options.
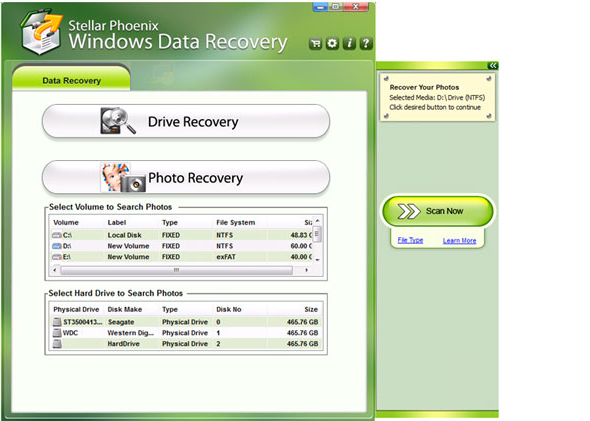
Select Volume or Hard Drive
On the main interface, click 'Photo Recovery' to display the 'Photo Recovery' module as shown above. Select the desired volume or hard drive for searching lost photos. On the flying pane, click 'File Type' below 'Scan Now' to select the file types you need to recover. Click 'Scan Now' to initiate the scan.
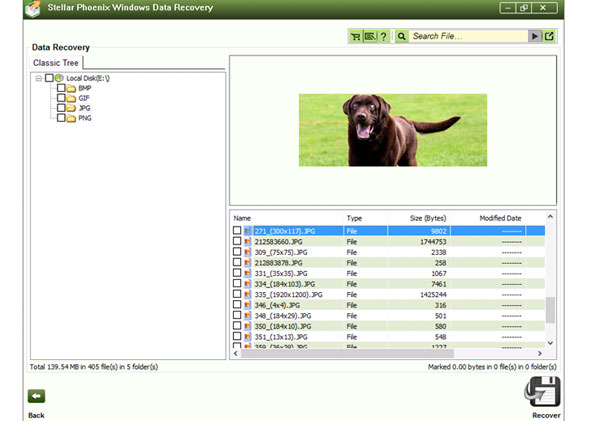
Preview Images
The software generates a tree-structured list under 'Classic Tree' tab after scan. This list contains folders representing distinct file types. Click on a folder and select a desired image in the bottom pane to see its preview.
Select Destination
Select the files and folders you need to recover and click 'Recover' button to display the Select Destination dialog. Provide a destination for saving the recovered photos and click 'OK'.